Definition of terms
Records - object records and activities against a record, such as contacts and notes. Example: a contact with 10 notes is counted as 11 records.
What will and will not be migrated
Import2 migrates:
- CRM records and their activities visible on the timeline
- Properties that don't exist in the destination portal yet, along with their corresponding values
Import2 doesn’t migrate:
- CRM setup, including templates, campaigns, email subscription types, Workflows, lists, pages, pipeline settings, etc. Use another tool like Portal Repliactor for this.
- Marketing status will not be migrated; you can change it post-import.
- Original source drill-down 1 and 2
- Latest source drill-down 1 and 2
- Form submission activities
- Ad activities
- Marketing email activities
- Pageviews
- Correct user attribution (ie ‘created by’ and ‘modified by’) of communication and team activities including:
- Notes
- Tasks
- Meetings
- Calls

Processes
- Set up necessary settings and users before import
- Start a free sample migration to test the process
- Perform a full migration once the sample migration is successful
- Review and fix any errors that may occur during the migration
- Conduct manual post-migration imports if needed
What to disable before import
- Disable ‘Create and associate companies with contacts’ in settings to avoid duplicate companies during import
- Ensure all Workflows are turned off before migration to prevent accidental triggers
- Disable ‘Assign company owner to contact by default’ to avoid overwriting data imported by Import2
Preparation before import
- Manually add the same HubSpot users from the source portal to the destination portal before import
Test import
Test the migration with a free sample migration to check records and activities.
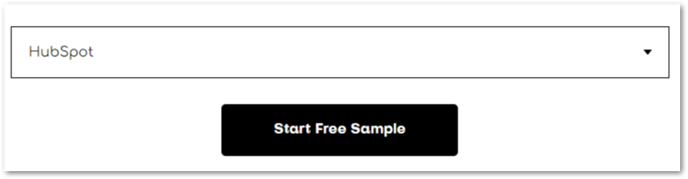
- Do a sample migration: https://www.Import2.com/free-sample-migration
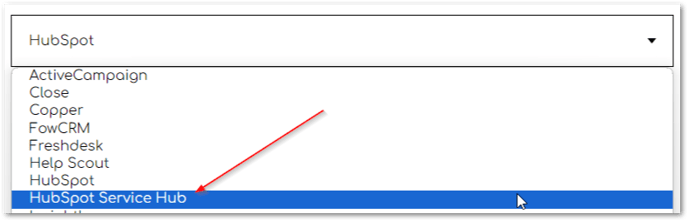
- Choose HubSpot from the dropdown. This will import records except for Tickets
- Ticket import is a separate category - choose HubSpot Service Hub from the dropdown to import Tickets
- Start the free sample
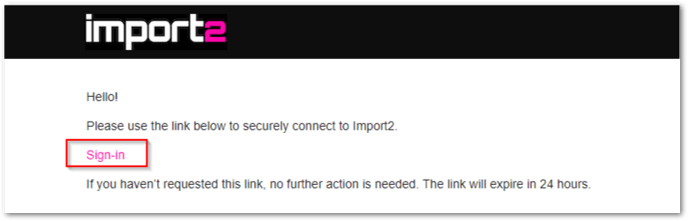
- Enter your email address to receive a sign-in link
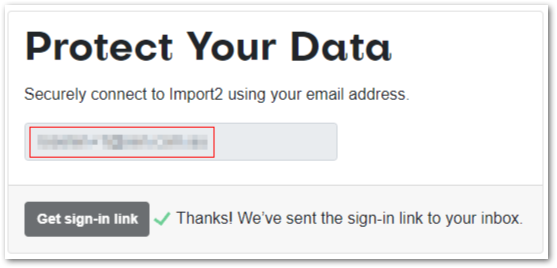
- Instead of using a password, Import2 provides a sign-in link that is sent to your email. This link is all you need to log in to Import2.
- Connect your source portal and destination portal
- IMPORTANT: make sure you triple-check that these are correct. You don't want to accidentally copy HubSpot data to the wrong portal.
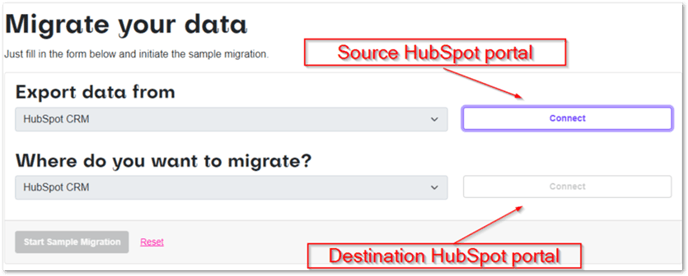
- IMPORTANT: make sure you triple-check that these are correct. You don't want to accidentally copy HubSpot data to the wrong portal.
- Start a free sample migration
- Sample migration may take a few hours to complete. Once it’s done, you’ll see your record count when you run the free sample migration.
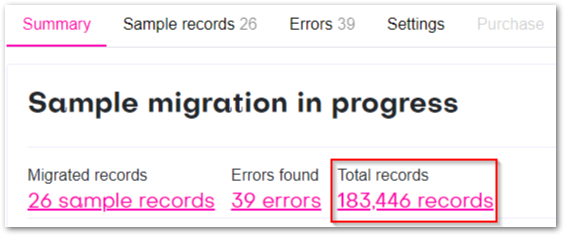
- The number of records will determine your subscription. In the example screenshot above, 183,446 records will fall under the ‘Premium’ package (link) which is 1,499 USD as of writing.
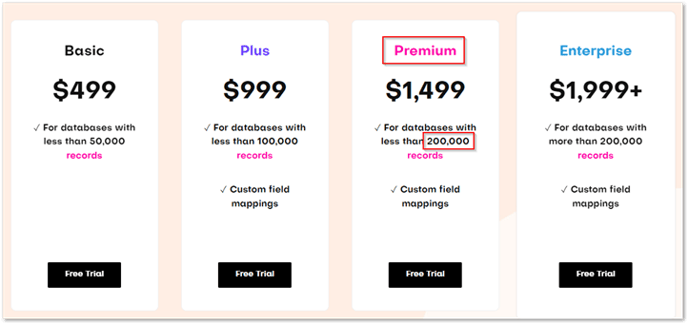
- Once you’re ready to do the full migration, purchase the right package.
Prepare for the full import
Review errors
- Navigate to the errors tab of the Import2 Dashboard

- Check each error and make necessary fixes where applicable
- Each error is categorised according to the HubSpot object they belong to.
Eg: Contact, Accounts (company), Opportunity (Deals), Emails, etc.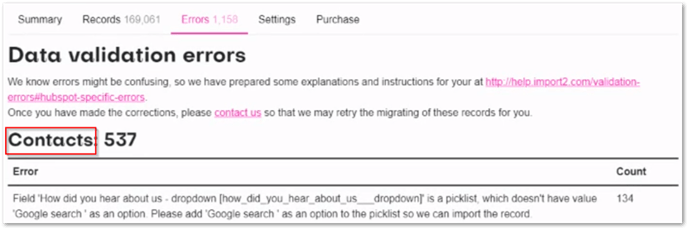
- The number next to it is the HubSpot records that were affected by this error. For example, this screenshot below affects 537 contact records
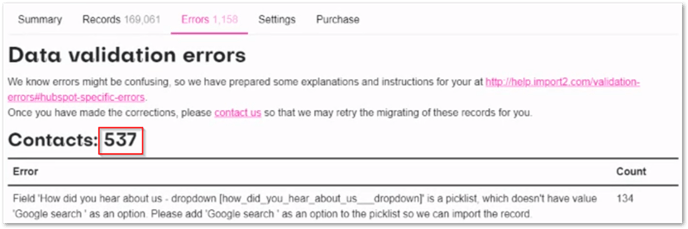
- The most common error we noticed is the missing property value

- In the screenshot above, you can easily fix this by adding a value/dropdown option for ‘Google search’ on the property ‘How did you hear about us’ on the destination portal. Make sure both the label and internal values match what’s on the source portal.
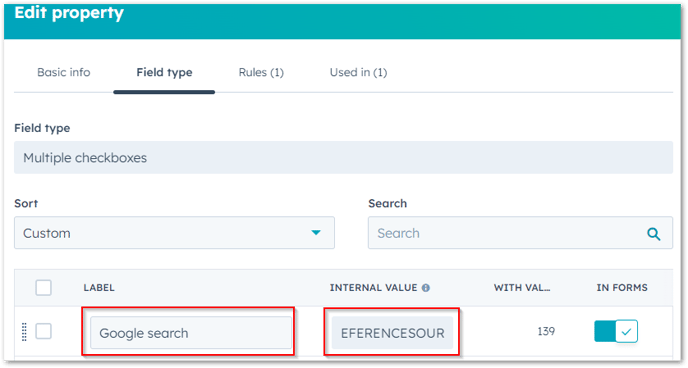
- In the screenshot above, you can easily fix this by adding a value/dropdown option for ‘Google search’ on the property ‘How did you hear about us’ on the destination portal. Make sure both the label and internal values match what’s on the source portal.
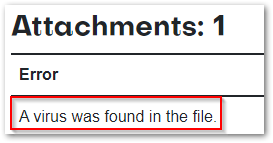
- There are other errors you can’t fix so don’t worry about them. eg:
- Virus on file
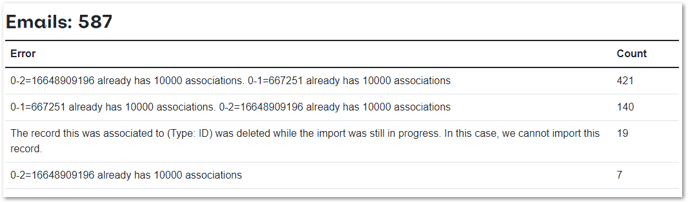
- There is a limitation in HubSpot regarding email associations. You are only able to associate a maximum of 10,000 emails to a single record. It is important to note that these 10,000 emails may include internal emails sent between team members.
- Virus on file
- Each error is categorised according to the HubSpot object they belong to.
Map out properties
- Navigate to the Settings > Configure field mappings
- There are some contact properties that Import2 doesn’t automatically map out so you’ll have to map them out manually:
- Lifecycle Stage
- Original source
- Latest source
- Status
Undo your previous sample migration
- Navigate to Imort2 Settings, and click undo migration
- Optional: start another Sample migration if the number of records and activities have been updated since your first sample migration (which is often the case if the portal is being actively used)
- Wait for the sample migration to complete (this may take a few hours to complete)
- Once done, review the errors again - chances are, there will be new errors if there are new records. Fix them per the process in this section.
- Next, undo your Sample migration again
- Once the migration has been completely undone, recheck your property mappings if they’re still in place. If not, set this up again per the process in this section
Final import
- Conduct a full migration - this may take up to 48 hours to complete.
After import
- There may be missing records after the import and this is oftentimes caused by the errors during import
- Review your errors tab again per this process in this section and fix where possible
- Once you’ve fixed the errors, contact Import2 support so that they can retry the migration of those records with errors.
Please keep in mind that Import2 is located in the US, so if you are in a different time zone, it may take 1-2 business days for them to respond to your email. - Once Import2 has retried the import and you still noticed some missing records, contact Import2 about it. You can quickly check this by comparing the number of records between the source portal and the destination portal.
- If you notice that the send-from name and email address on some transactional emails or one-on-one emails are incorrect, contact Import2 about it so they can fix the issue.
Workarounds for some issues
Here are some possible solutions, but it's up to you to decide whether to implement them or not.
Incorrect user attribution
Tasks
Remove the assignee on all tasks to avoid confusion, and manually update the assignee later if necessary.
- Navigate to Sales > Tasks
- Filter tasks to show the ones that have incorrect assignees
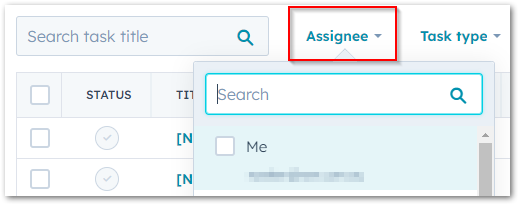
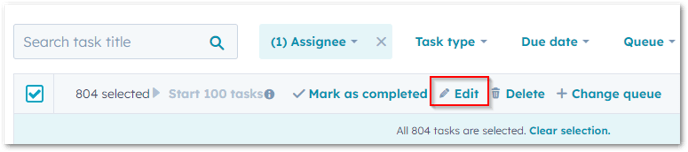
- Select all records that have the incorrect assignee
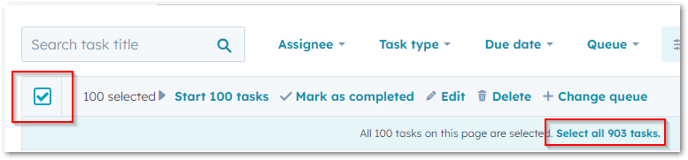
- Edit
- Set assignee to no owner
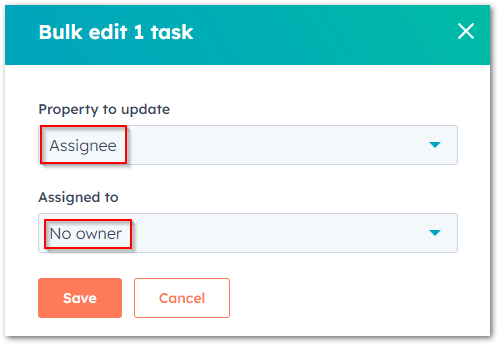
- Next, you can manually update the assignee later, one by one if needed
Notes
Check our process here on how to import notes from one HubSpot portal to another: https://www.xenkb.com/how-to-export-notes-from-one-hubspot-portal-and-import-on-another
Email Subscription Types
- Create a list of each subscription type on the source portal then export them
- Import them to the destination portal and create a static list for each
- Create a workflow that will set their subscription type
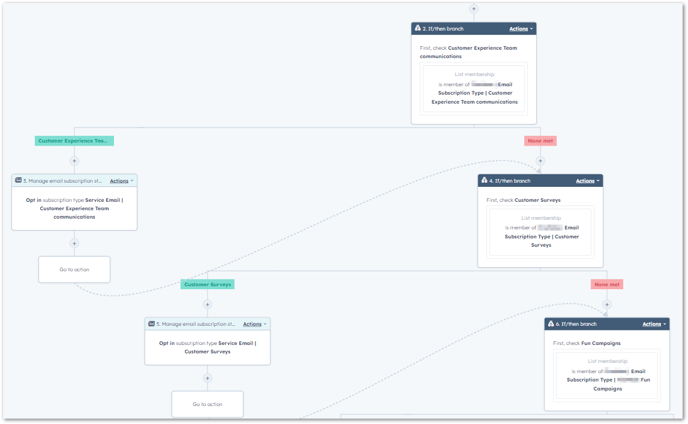
- The trigger will include all of the static lists from the import that you completed in step 2:
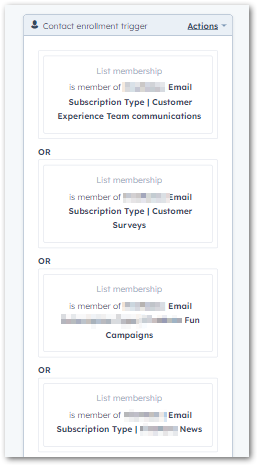
- Add an if/then branch with a go-to action for each static list. The purpose is to subscribe them to the relevant email subscription types.
- Turn the Workflow on and enrol existing contacts who meet the enrolment criteria
- Once all contacts have completed the Workflow, turn that Workflow off again
- The trigger will include all of the static lists from the import that you completed in step 2:
Marketing email activities
- Create a custom report that shows all marketing emails that have been sent to each contact
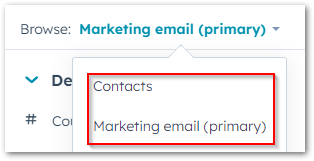
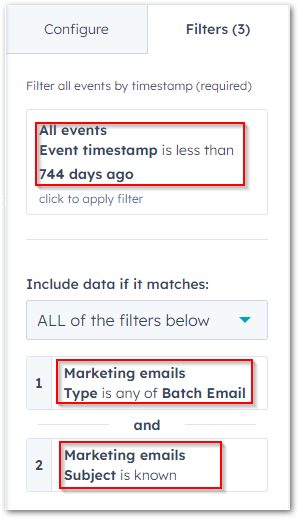
- Use these two data sources:
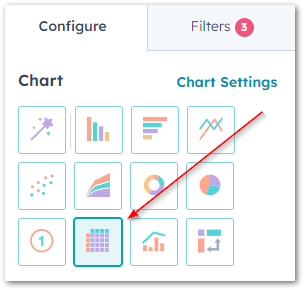
- Use a table chart
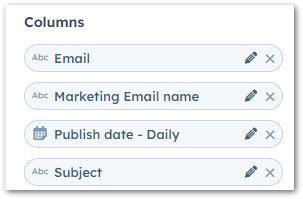
- Add these properties as columns:
- Navigate to Filters and update them where applicable. eg:
- Export the report as a CSV file
- Tweak the CSV file to adjust how you want the logged email to be displayed. Here’s an example import file format you can use (link).
- Column A - contact’s email address
- Column B - preface of email description
- Column C - email’s internal name
- Column D - email’s sent date
- Column E - email’s subject line
- Column D - text that appears on the email body
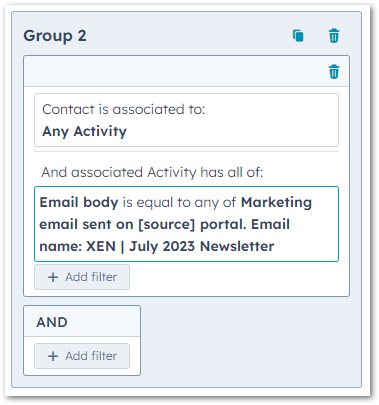
- Once this is imported, you can see this in the activity timeline and you can also create a list based on the ‘Email body’ property if needed:
- Use these two data sources: