Here's our recommended process for setting up your solar email nurture sequence:
- Identify the goal - do you want people to open your email and then click a link to request a quote from you, or do you want them to visit your website and spend time reading your blogs? Identify what the goal of your nurture is so you can stay consistent in each email and avoid asking the reader to do too many things.
- Plan and draft the email content - we recommend doing this in a Google Doc. Identify for each email: subject line, preview text, send from email + name, email body content, CTA/link, sign off.
- Review and quality check the email content - before building your emails in your email marketing platform of choice, have the content checked or reviewed by your team. You can also use the Grammarly Chrome extension to check for any typos you may have missed.
- Build your automation (MailerLite) or workflow (HubSpot) - depending on what platform you are using, building the nurture series is easy. Follow the steps below.
Building an email nurture automation in MailerLite:
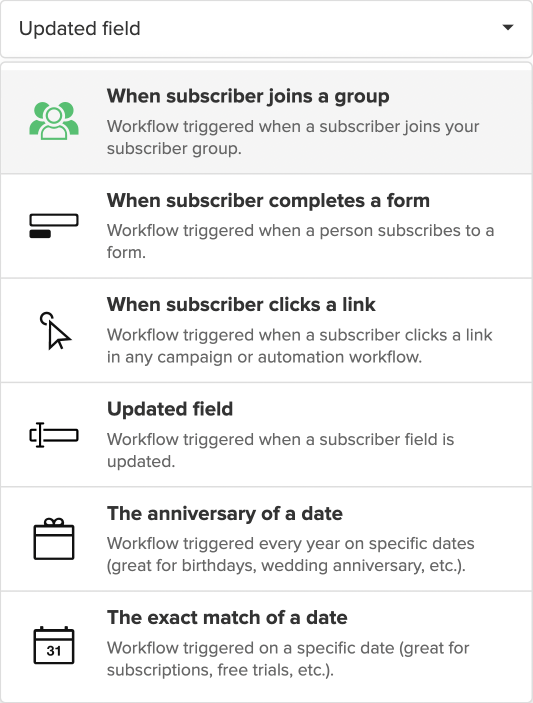
- Set the automation trigger - what will trigger the workflow? We recommend using 'When subscriber joins a group'. You can add a subscriber from HubSpot to a MailerLite group via a Zapier Zap. You can also add a subscriber to another group within MailerLite automations.
- Set a time delay - Set an initial time delay when the subscriber first joins the group. If the subscriber has just filled in a form and then been added to the group, we recommend setting a 1 min delay here before the first email in the automation.
- Create your first email - Using the content you planned in your Google doc, set up your first email.
- Set another delay, and so on - After the first email, add a delay of at least 6 or 7 days. You'll want a delay after every email. We recommend sending 1 email a week. Try to change the delay between the emails so the user doesn't receive the email at the exact same time every week.
- Review your automation and turn on.
Building an email nurture workflow in HubSpot:
- Set a workflow starting criteria - this might be when someone fills out a form. If you are triggering based on a form, make sure to check the re-enrolment options and turn ON re-enrolment for the form submission (this means that if the same users fills in the same form later on, they will go through the workflow again).
- Set a time delay - Set an initial time delay when the subscriber first joins the group. If the subscriber has just filled in a form and then been added to the group, we recommend setting a 1 min delay here before the first email in the automation.
- Create your first email - Using the content you planned in your Google doc, set up your first email.
- Set another delay, and so on - After the first email, add a delay of at least 6 or 7 days. You'll want a delay after every email. We recommend sending 1 email a week. Try to change the delay between the emails so the user doesn't receive the email at the exact same time every week.
- Set a workflow goal - If applicable, set a goal on your workflow. If you identified the goal of the nurture earlier, this should be easy. The goal might be that they request a solar proposal from you by filling in a specific form on your website or HubSpot landing page.
- Review your workflow and turn on.