- Create an active list in HubSpot for new leads that you'd like to receive an automated email. This is usually based on new form submissions.
- Login to MailerLite (https://www.mailerlite.com/)
- Navigate to Subscribers>Groups
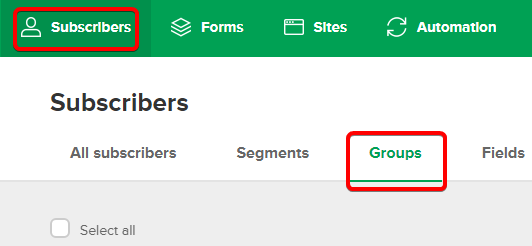
- Create a group - make the group name short but descriptive.
eg XEN Solar | Newsletter
Zapier
- Sign up for a Zapier account if you don't have one yet: https://zapier.com/app/login
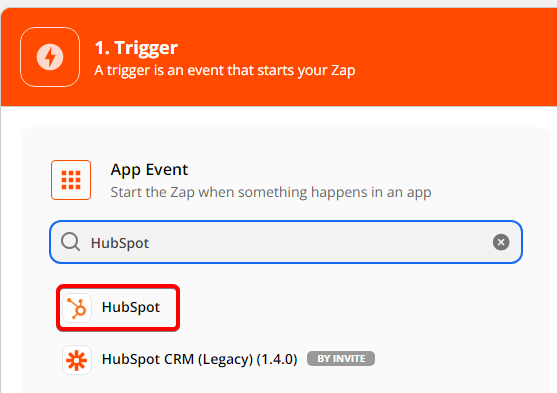
- Navigate to Zaps>Create Zap
- Use HubSpot as the App Event:
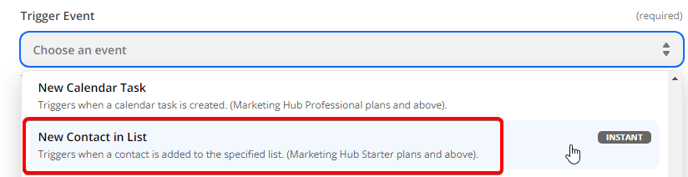
- Choose New Contact in List under Trigger Event
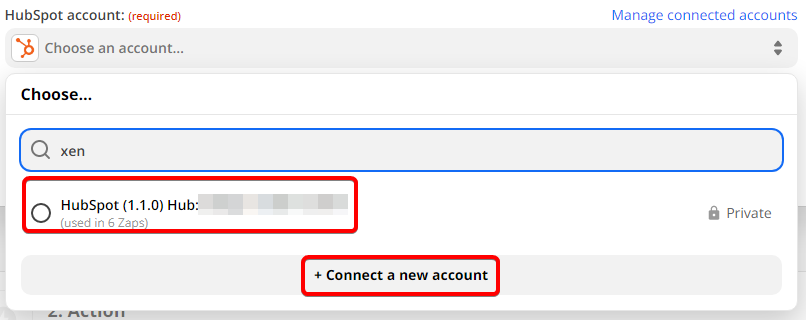
- Continue>Choose a HubSpot account or connect one if you haven't yet
- Next, choose the HubSpot active list you created (from step 1) as your trigger:
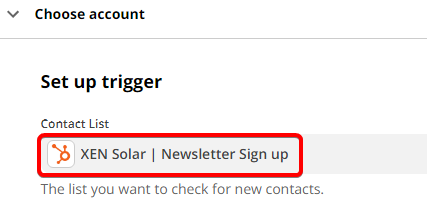
- Click continue and test the trigger. Note, if your list doesn't have any contacts yet, the test may return an error but that won't be an issue. You can just skip testing if this is the case.
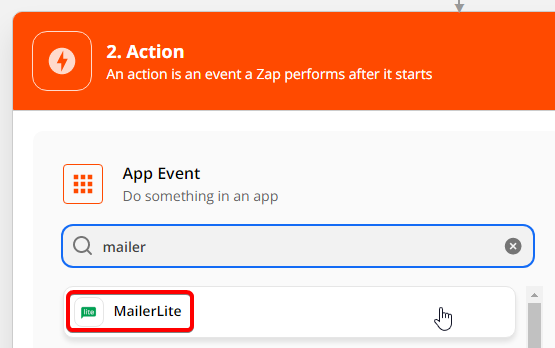
- Click next and choose MailerLite as the app event.
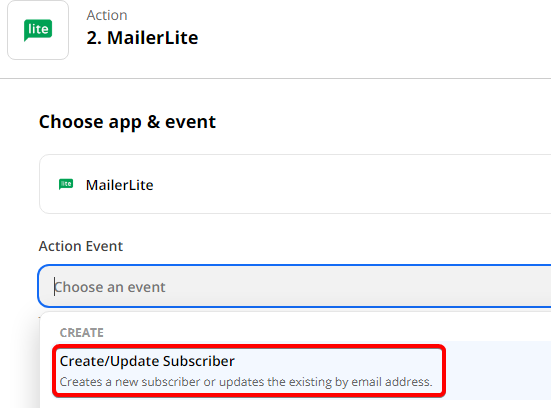
- Under action event, choose Create/Update Subscriber
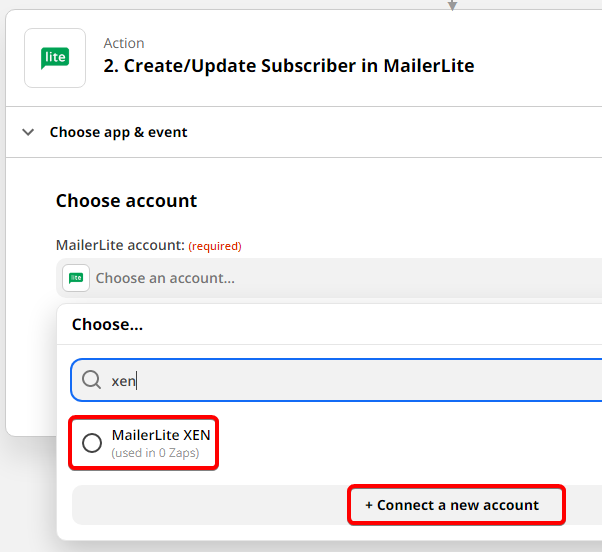
- Choose your MailerLite account from the dropdown or connect it to Zapier if you haven't yet:
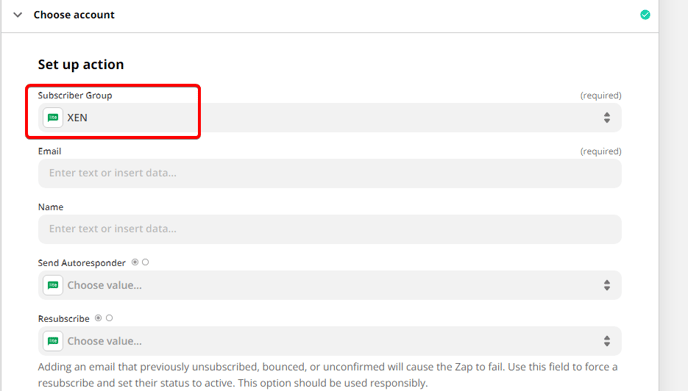
- Next, select the MailerLite Group you created from step 4
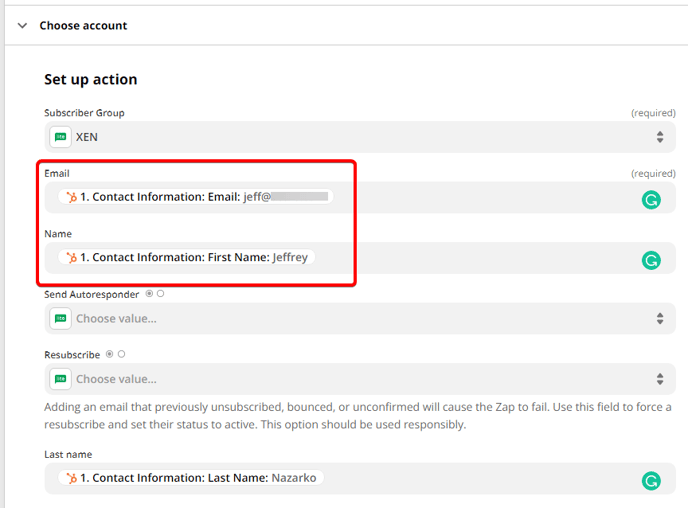
- Then map out at least the first name and email address properties:
- Click Continue>Test & Review

- If everything looks good, turn the Zap on.
- Next, make sure your Zap works and you receive the MailerLite email by filling out your form.