- Users & Teams Settings
- Creating permission sets
- Assigning permission sets to users
- Adding a new user
- Creating Teams
- Assigning users to Teams
- Assigning paid Sales and Service Hub Seats
- Deactivating a user
- Reactivating a user
- Edit billing contacts
Users & Teams Settings
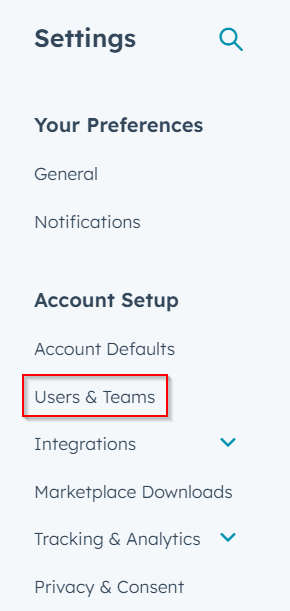
Navigate to Settings > Users & Teams
Here you'll see the User Table, Seats (if you have Pro or Enterprise Hubs), Teams, Permission Sets, and Presets.

In Users, you can filter your user table based on Status, Permission Set or Partner status:
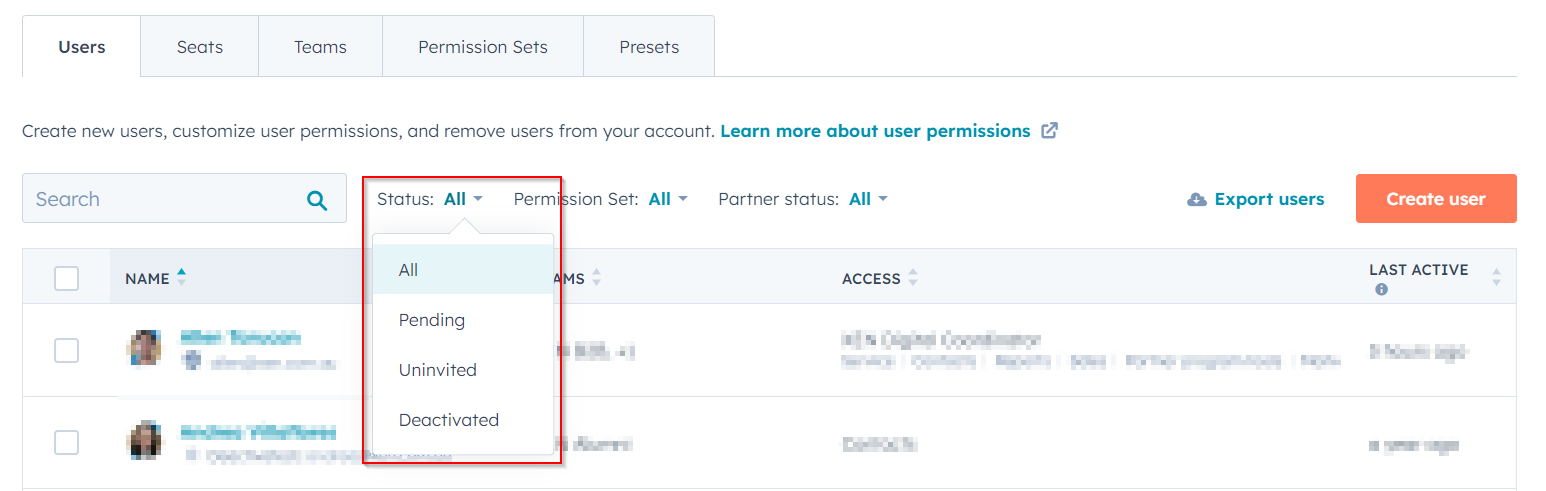
Status: All, Pending, Uninvited, Deactivated
Permission Set: shows a list of your permission sets
Partner status: Partner versus non-Partner users in your portal
You can also export a list of your HubSpot users and Create new users here.
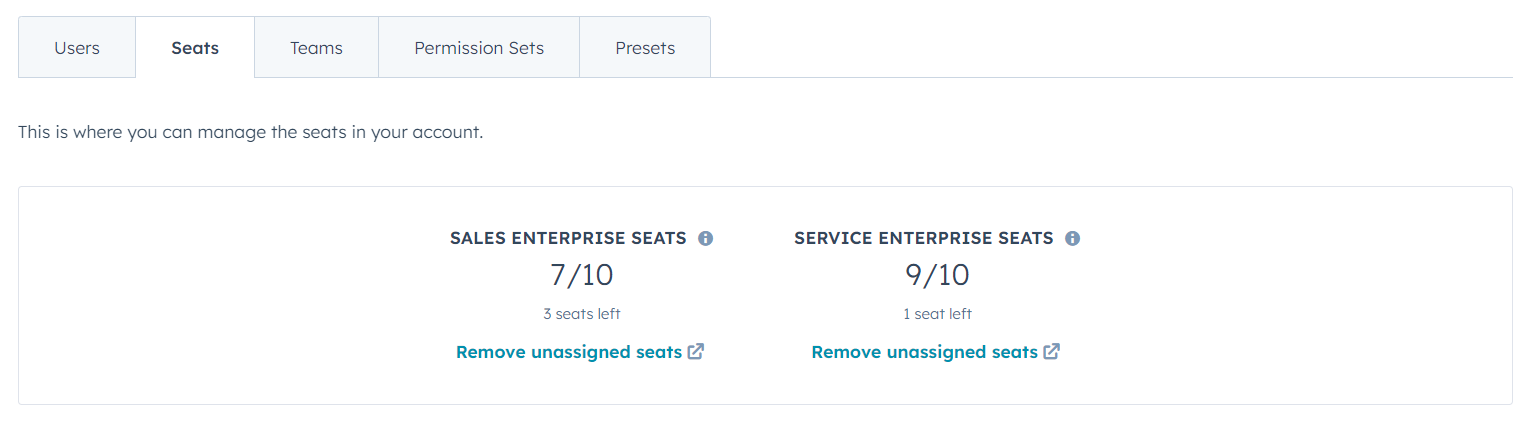
In Seats, you'll see how many Sales and Service Hub Seats you have left and you can change/remove user seats here.
In Teams, you will see a list of your created Teams, and how many users are in each Team. Put users into teams as a way to organise them for access or reporting purposes.
In Permission Sets, you'll see a list of your created Permission Sets, what access those permission sets give, and how many users are in each permission set. Set up permission sets as pre-defined permissions for HubSpot access.
In Presets, you'll find your created presets which let you define default and notification settings that you can apply to groups of users.
Creating permission sets
Permission sets are only available with HubSpot Enterprise Hubs.
We recommend creating permission sets before adding users to HubSpot because, during the user creation process, you can either set the new user's permissions manually (not recommended), use a default set or choose a permission set you previously created (recommended).
To create a new Permission Set, go to Settings > Users & Teams, Permission Sets.
Click 'Create Permission Set'.
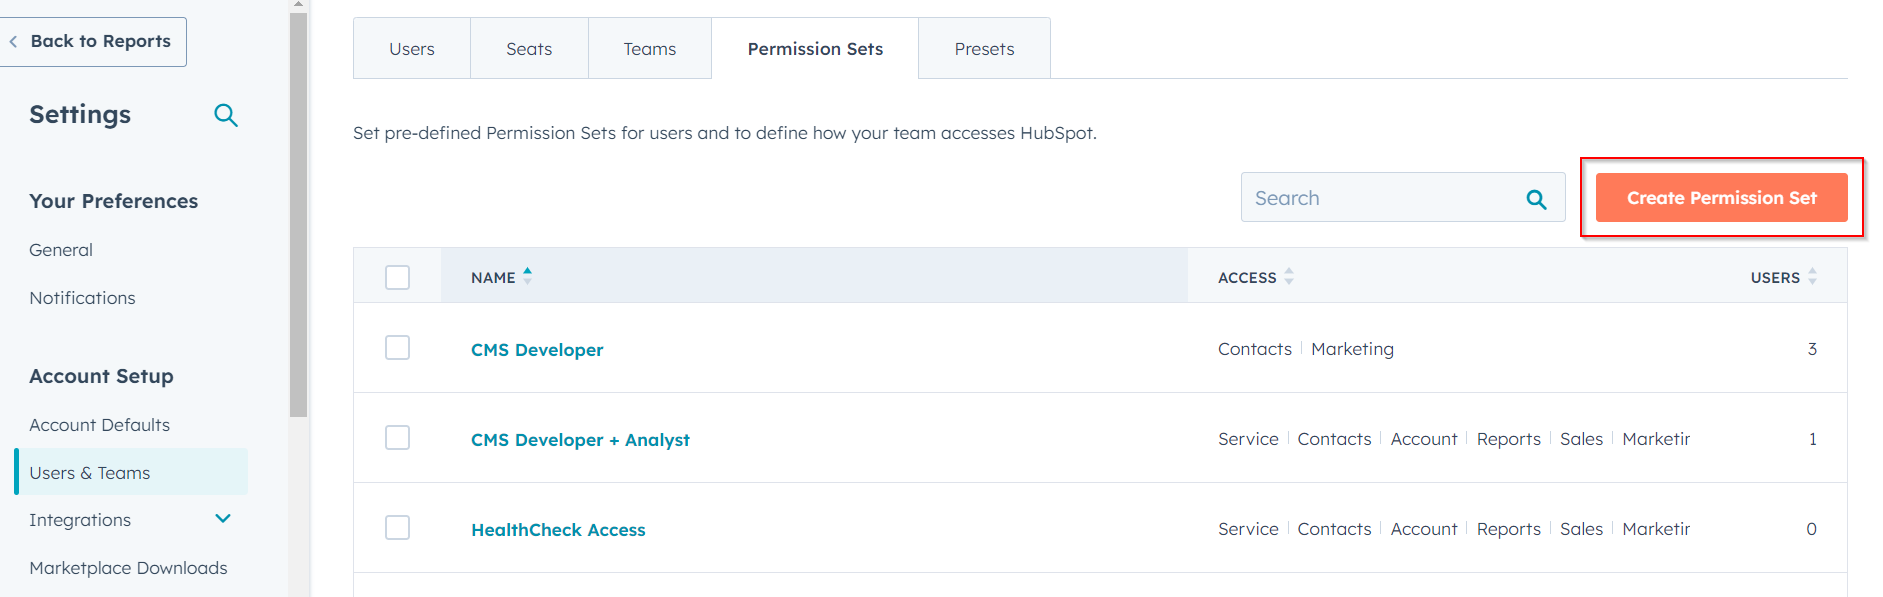
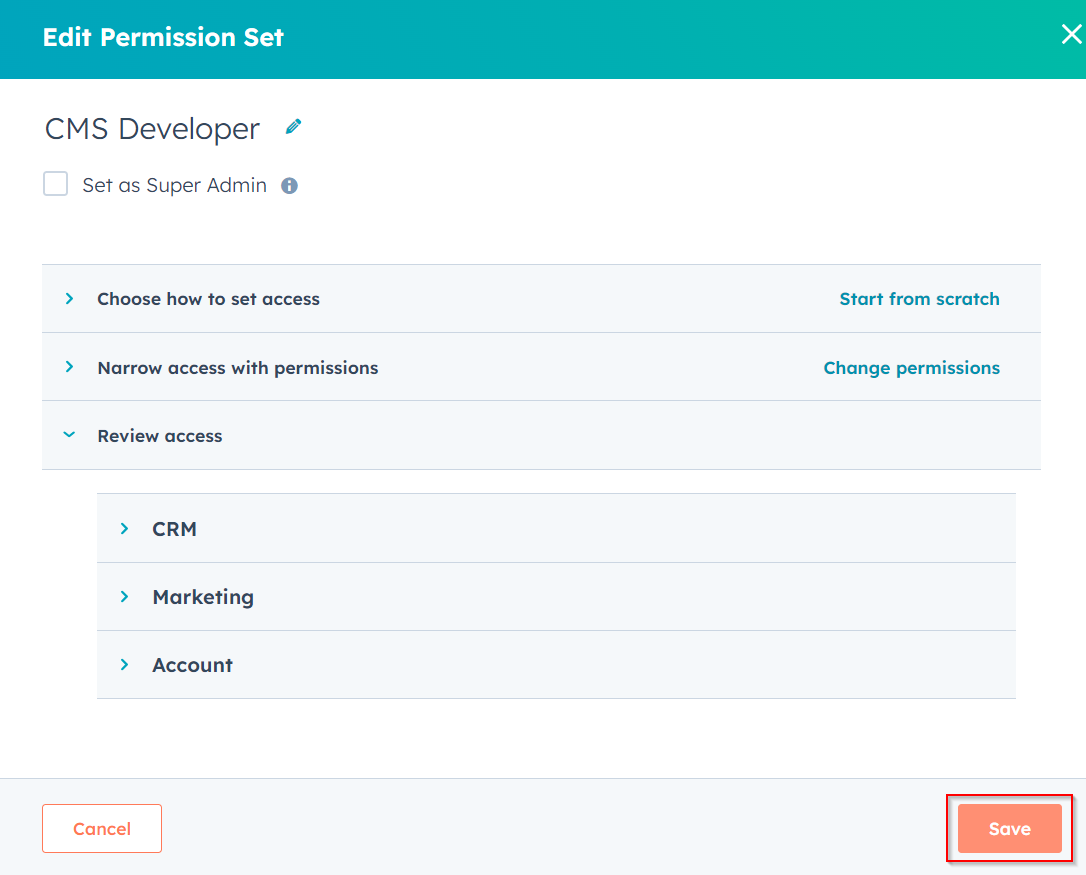
Give your permission set a name i.e. CMS Developer:
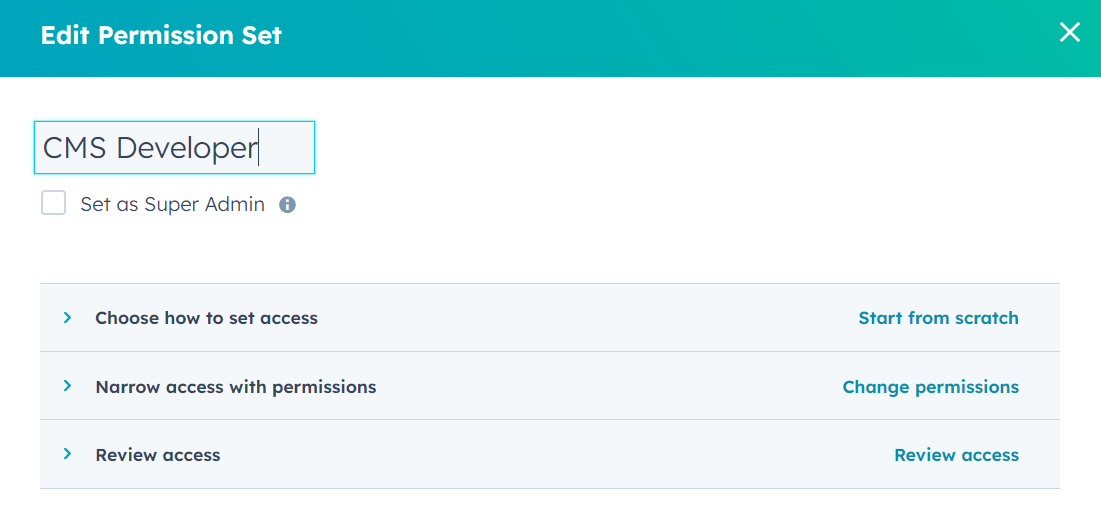
Choose how to set access: choose 'Start from scratch'.

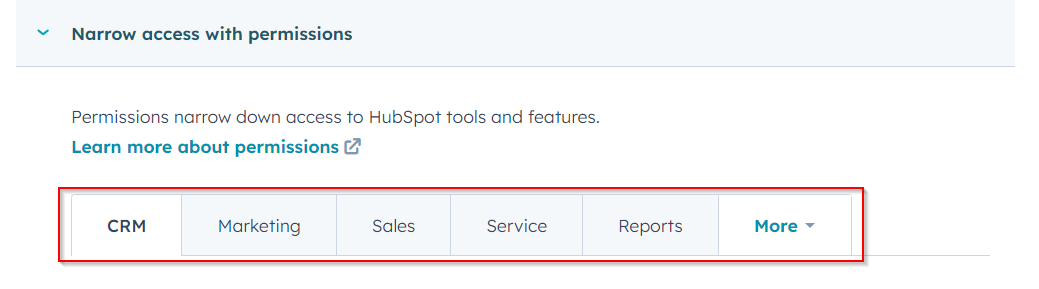
Narrow access with permissions: use this section to go through each tab and set the relevant permissions.
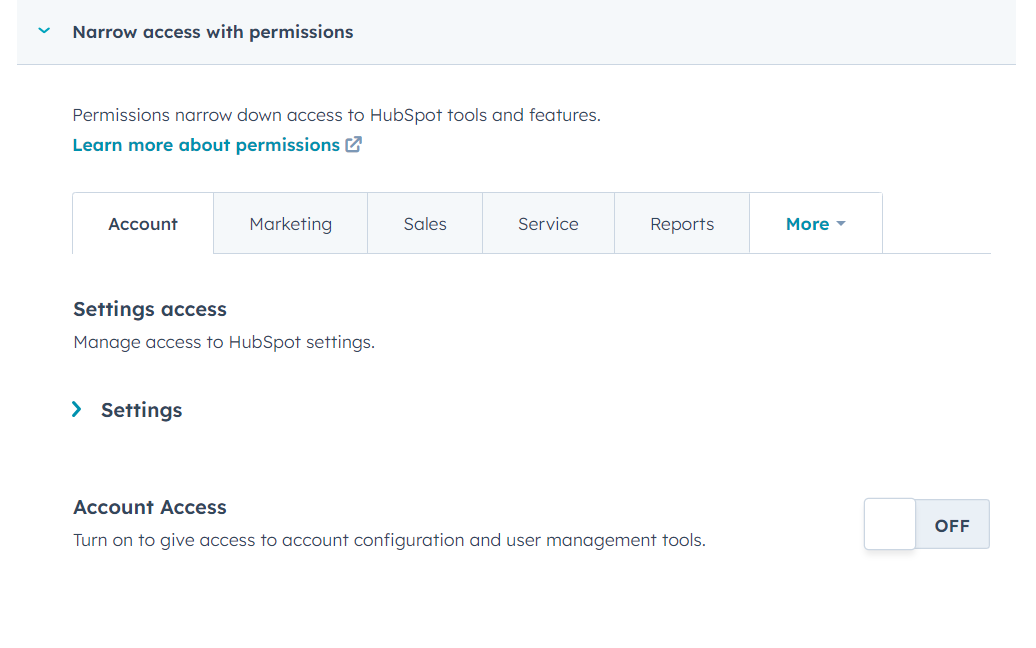
Make sure you give out Settings & Account Access sparingly:
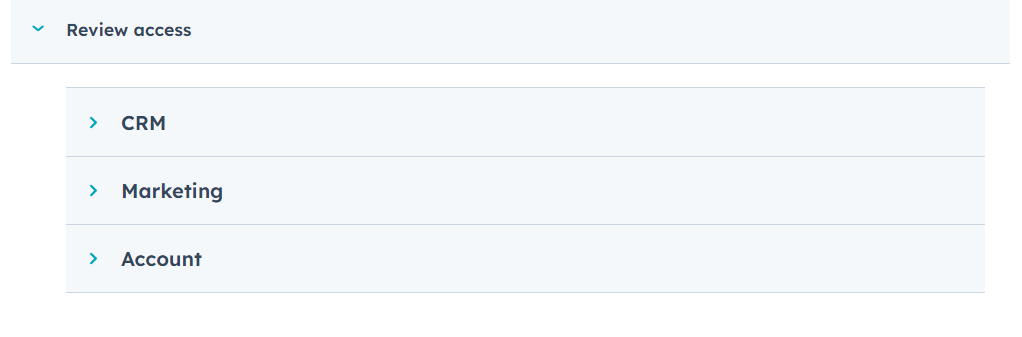
Review the access you've given this permission set:
Save your permission set:
Assigning permission sets to users
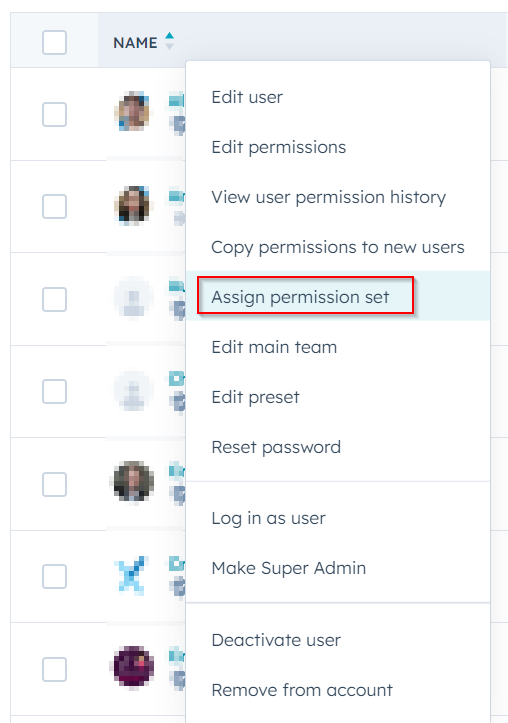
In Settings > Users & Teams > Users, find the user you want to add to a permission set.
Click 'Actions' and then click 'Assign permission set':
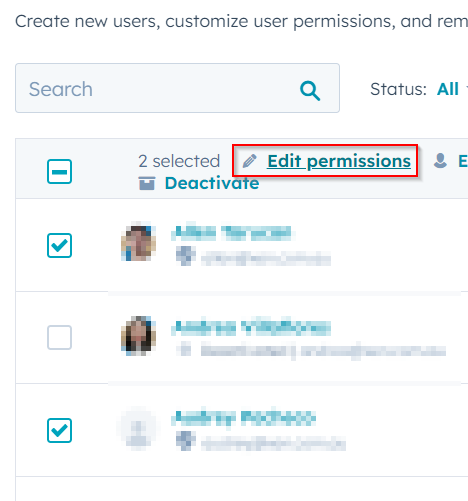
You can also select multiple users and edit their permission set:
Adding a new user
Navigate to Settings > Users & Teams.
Click on 'Create user'.
Enter one or more email addresses in the field:
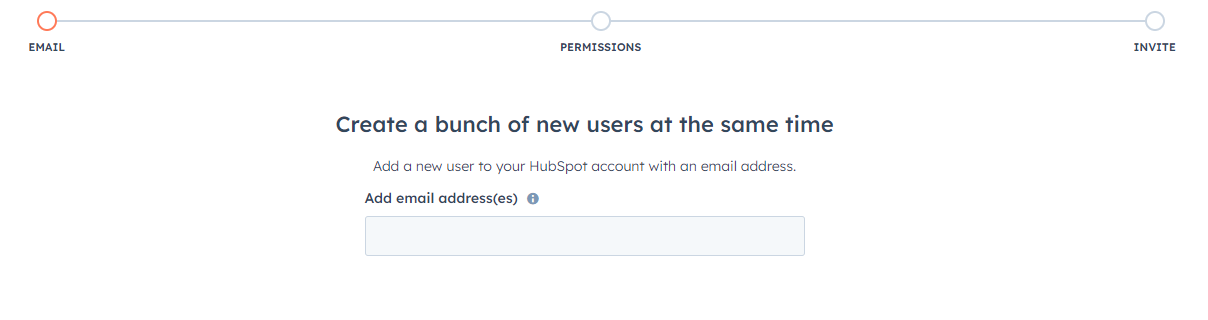
Separate each email address with a space or comma.
We recommend setting access with a permission set:
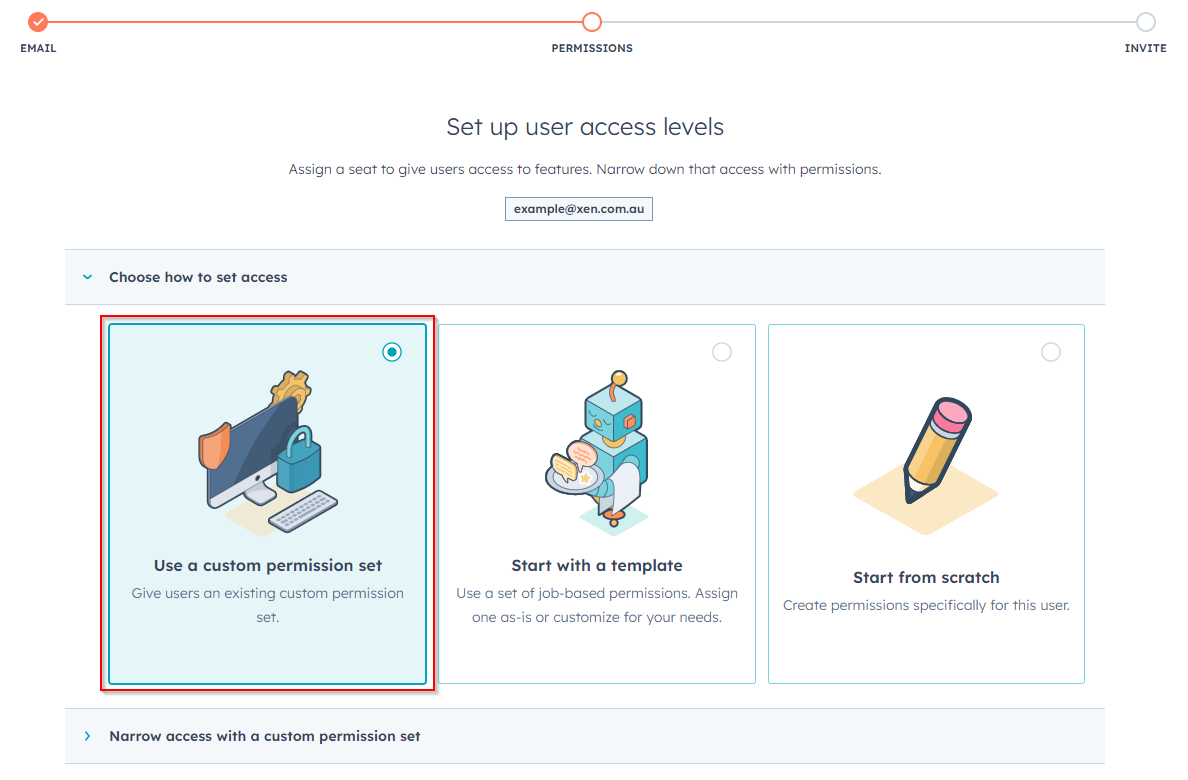
If you don't have access to permission sets you can use a HubSpot template or set up permissions from scratch.
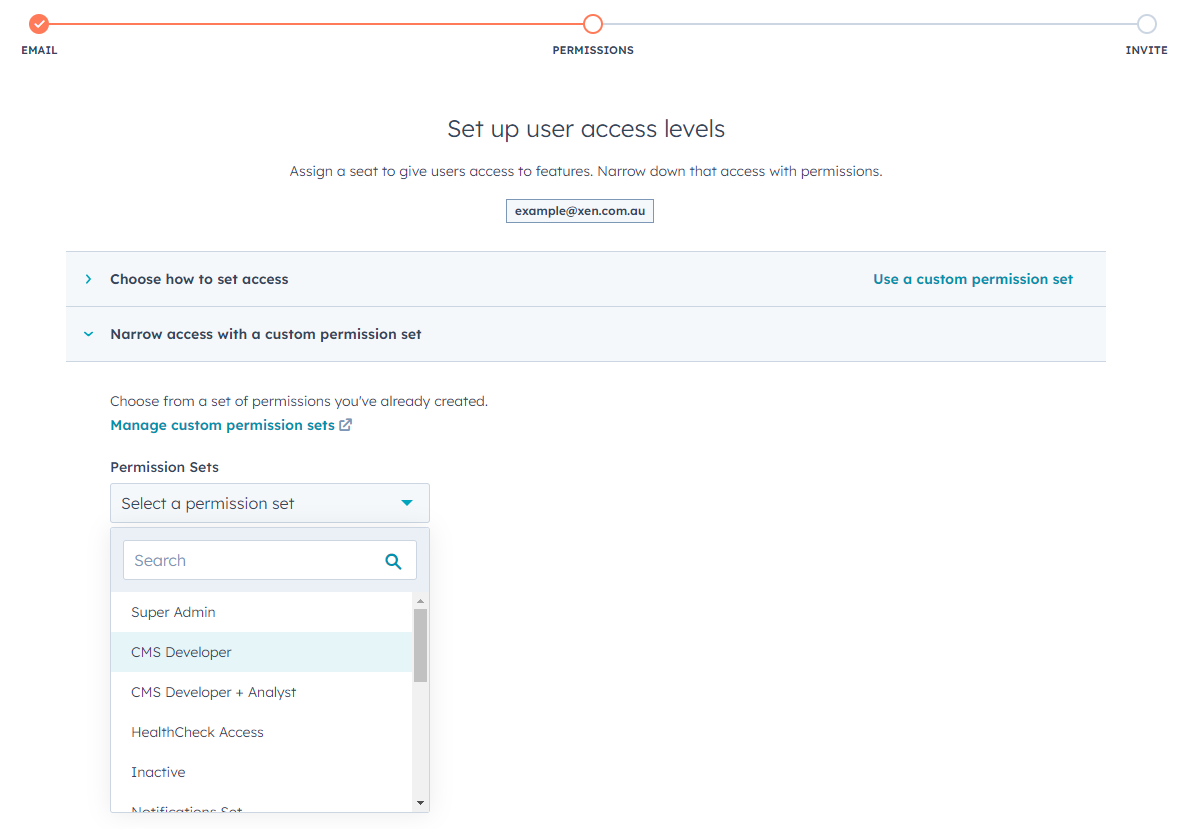
Select the permission set:
Then click 'Next':
Finally, decide whether you want to send an invite email to the user (recommended).
Check the box if you don't want to send an invite.
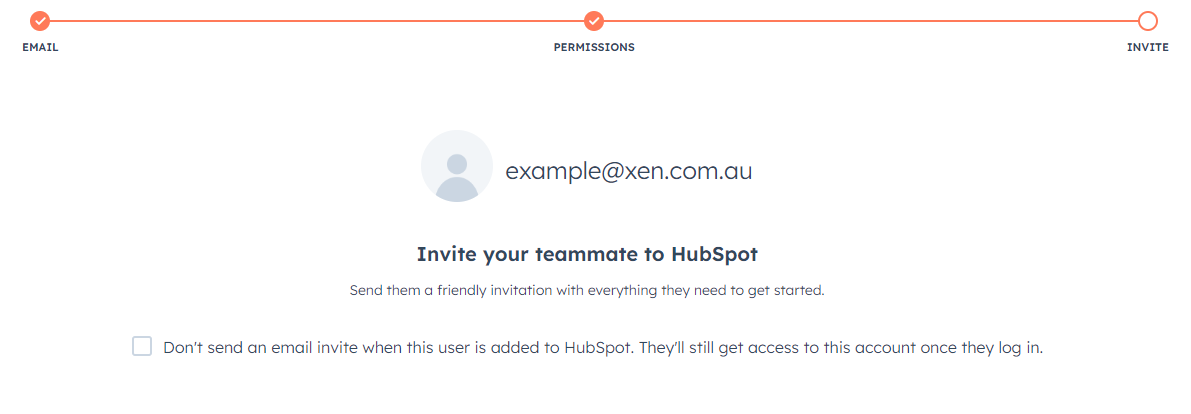
Click 'Send'.
Creating Teams
Navigate to Settings > Users & Teams > Teams.
Create a new team by clicking the orange button.
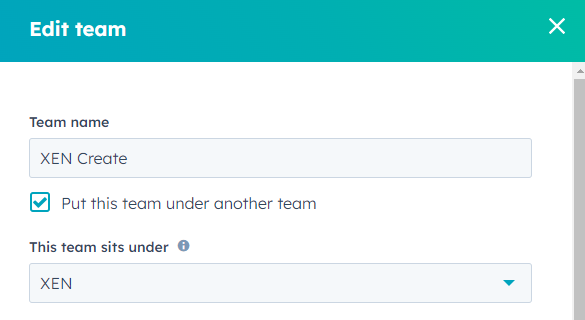
Give the team a name.
The team can either be a 'parent' team or a 'child' team.
If you want it to be a parent team, leave the checkbox unticked.
If you want it to be a child team, check the box and choose which team this team should sit under.
You can set team members when creating the team.
Assigning users to Teams
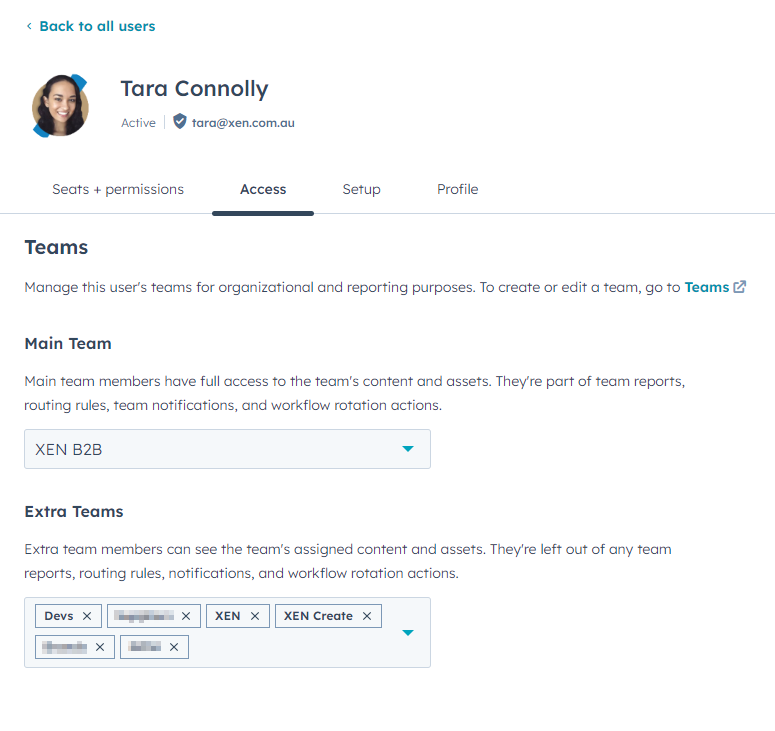
Users can have one Main Team and multiple Extra Teams.
Main Team: Main team members have full access to the team's content and assets. They're part of team reports, routing rules, team notifications, and workflow rotation actions.
Extra Teams: Extra team members can see the team's assigned content and assets. They're left out of any team reports, routing rules, notifications, and workflow rotation actions.
So you can assign users to Teams based on what they need to be able to access.
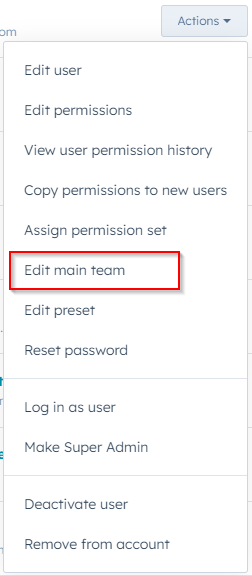
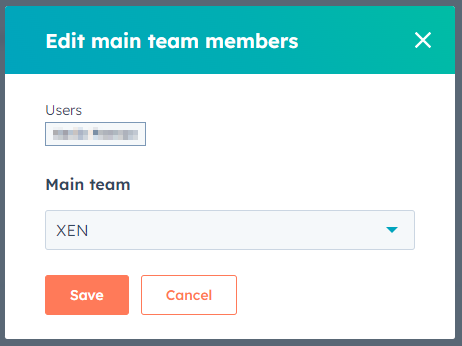
To assign a user to a team, find the user, click 'Actions', and then click 'Edit main team':
Select the team and then 'Save'.
To see and edit the Main and Extra teams a user belongs to, 'Edit' the user:

Go to 'Access' to see and edit teams:
Assigning paid Sales and Service Hub Seats
You can assign a paid seat by assigning the user to a Permission Set that includes a paid seat.
This is our recommended approach.
However, if yo need to assign paid seats without Permission Sets, follow the steps below.
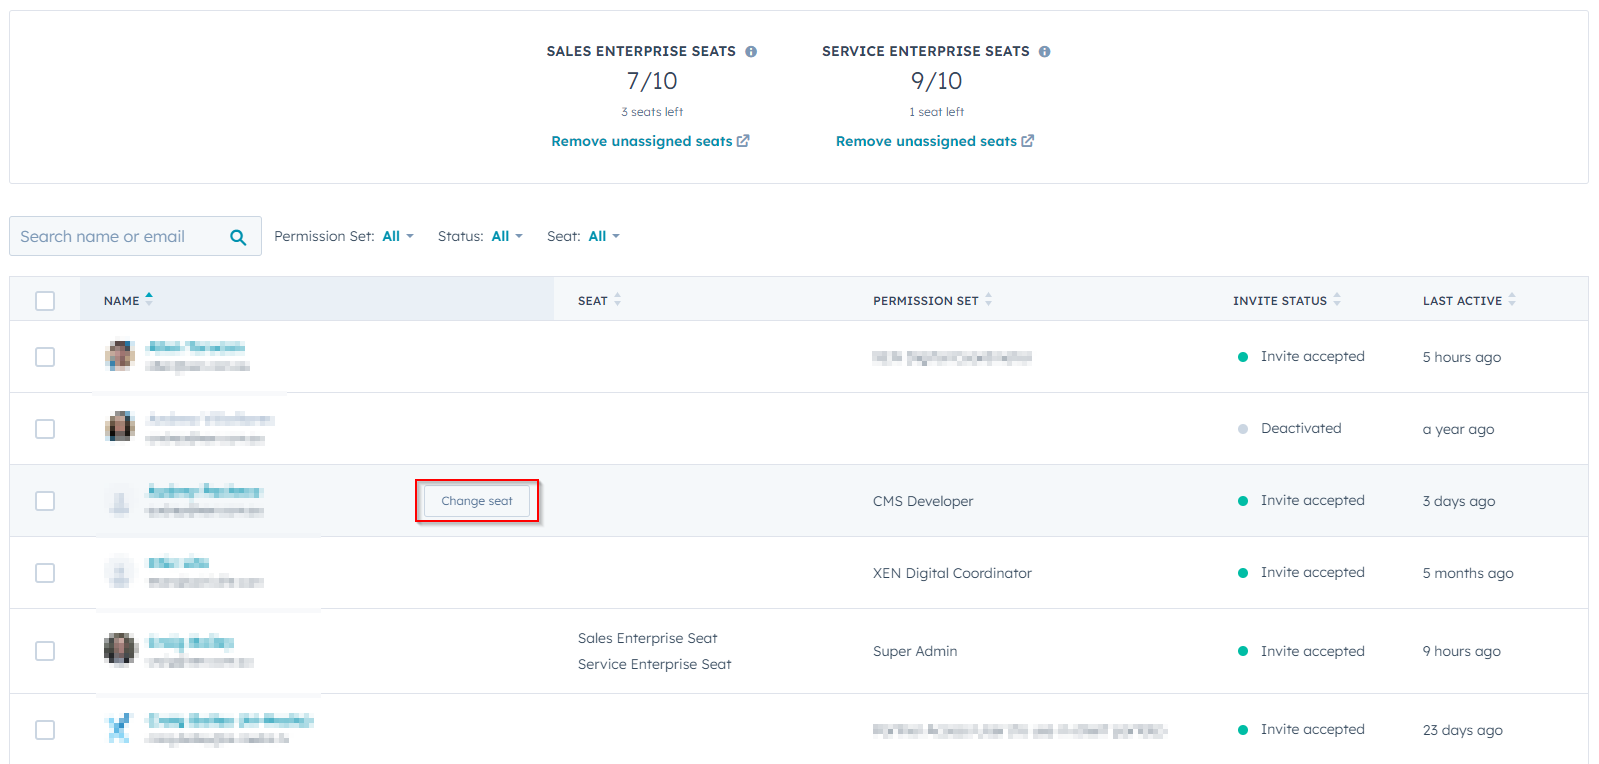
Navigate to Settings > Users & Teams > Seats.
Find the user/s you want to assign to a paid seat.
Click the 'Change seat' button.
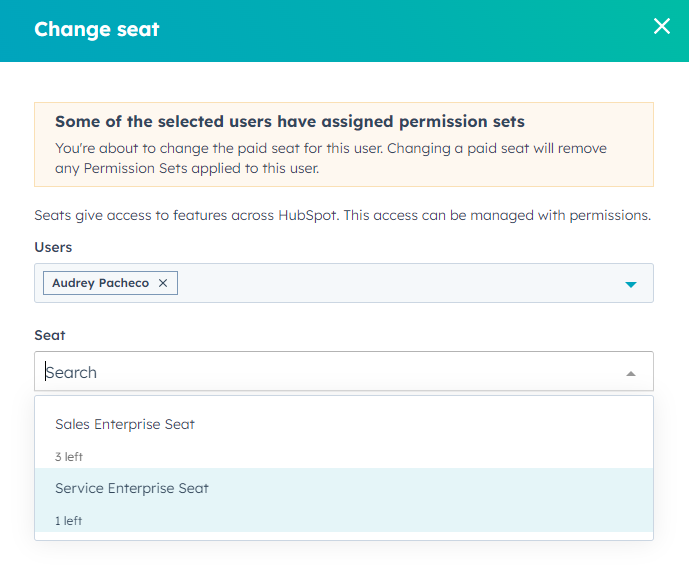
Select the seat to apply.
You can select multiple users if needed.
Please note if the user is assigned a Permission Set, changing their seat will remove their Permission Set.
Deactivating a user
You can deactivate a user in your portal. This means they won't be able to access the HubSpot portal, but you can still see the user's historical activity. You can reactivate them in the future.
To deactivate a user navigate to Settings > Users & Teams > Users.
Find the user you want to deactivate.
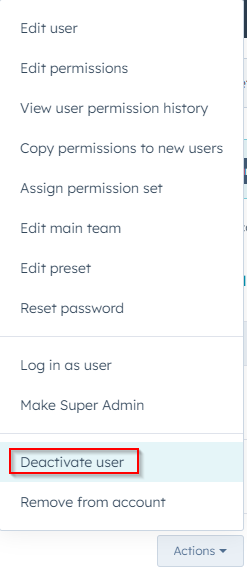
Click 'Actions'.
Click 'Deactivate user'.
If the user is assigned to / owns any assets in HubSpot, you will see these listed before you deactivate.
You can reassign these assets to someone else before or after your deactivate the user.
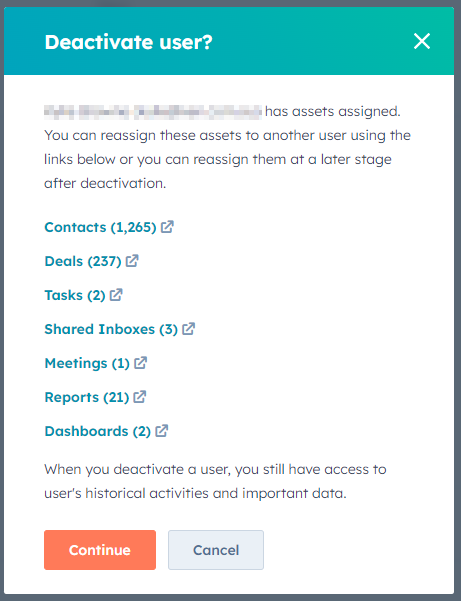
Before you deactivate a user you will also be asked if you want to remove their paid seat/s (if they have any). We recommend removing the paid seats from the user and deactivating.
Reactivating a user
To reactivate a user who has been deactivated, go to Settings > Users & Teams, Users.
Find the user you want to reactivate.
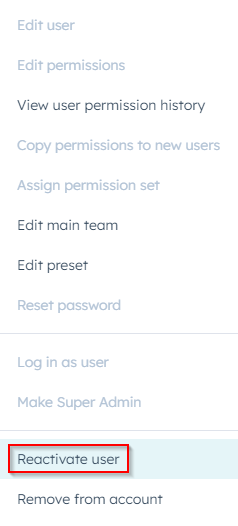
Click 'Actions'.
Click 'Reactivate user'.
View user permission history
To view user permission history navigate to Settings > Users & Teams > Users.
Find the user where you want to check permission history.
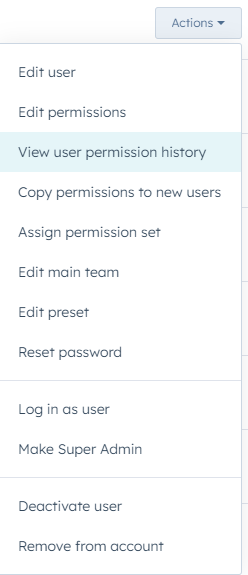
Click 'Actions'.
Click 'View user permission history'.
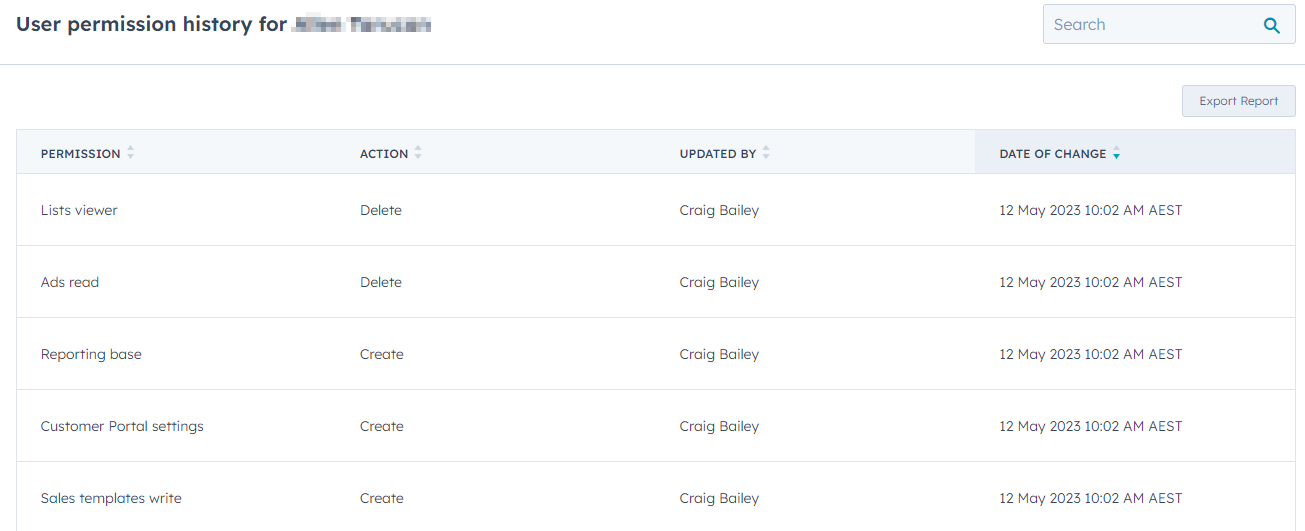
This will give you a list of permission changes:
- What was the permission
- Was is added or deleted
- Who was it updated by
- When was it updated
Edit billing contacts
Navigate to Account & Billing.
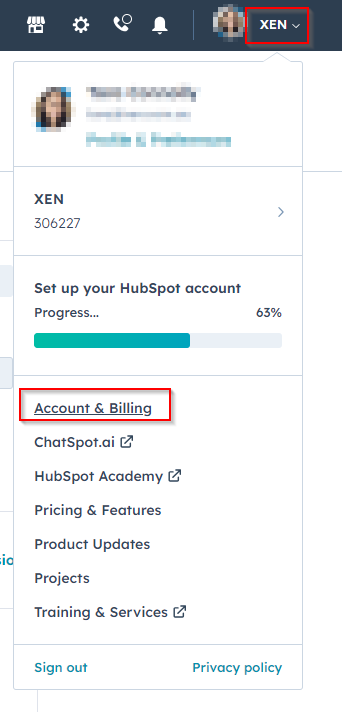
Then go to Company Info.
You can edit your point of contact here:
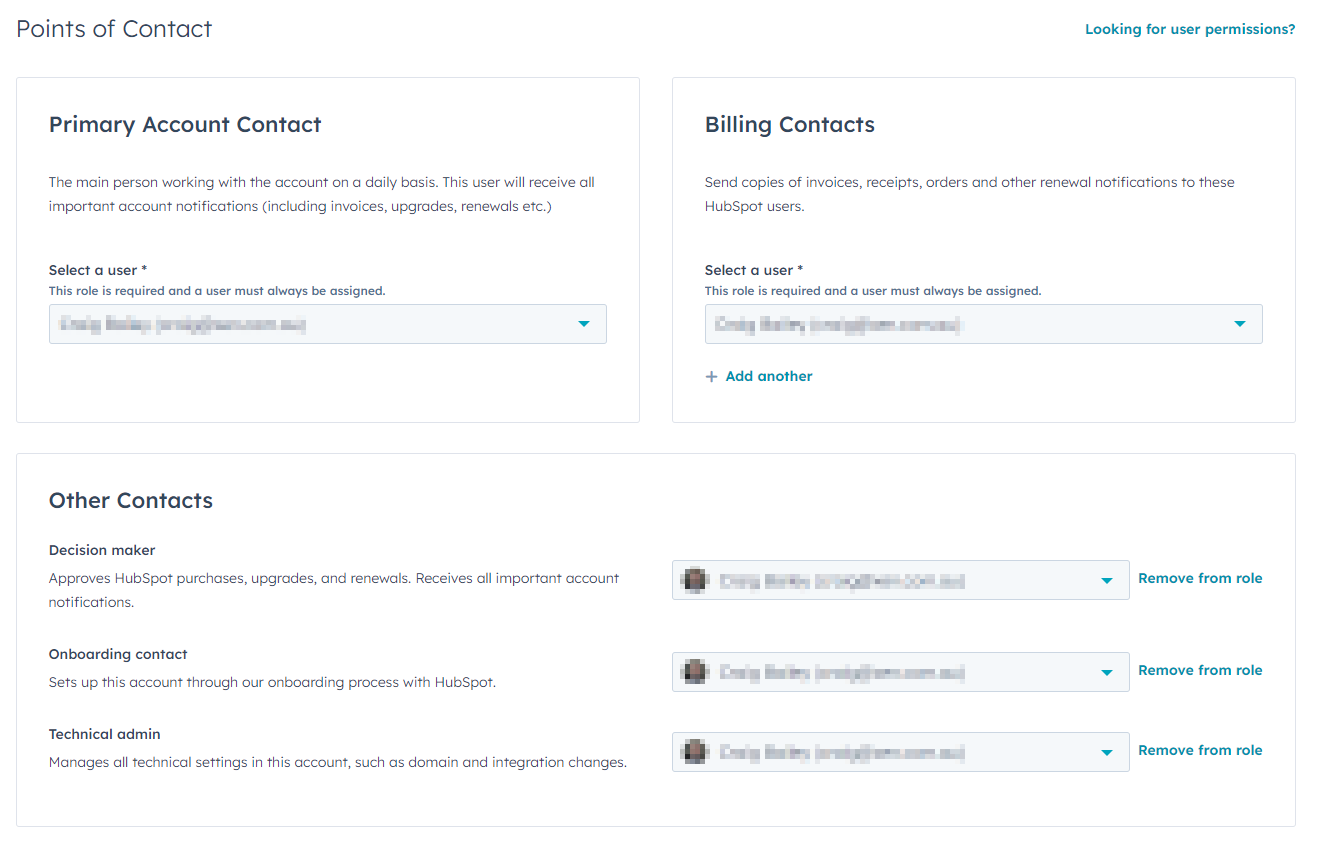
Please note if there is a contact set as Primary Account Contact, Billing Contact or Other Contacts, you will not be able to deactivate that user until you remove them from this area.