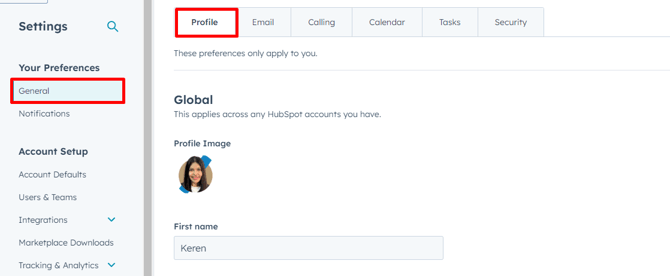
1. Setting Up Your Profile:
- Begin by clicking on "General" and then selecting "Profile."
-
- Customise your profile image, name, date/time format, and phone number.
- For sales team members, including your phone number is recommended for automated sales emails.
2. Connecting Your Email:
-
- Under the email section, find the option to connect your personal email.

-
- Follow the prompts to integrate your email provider with HubSpot.
- Enable inbox automation for scheduling emails and tracking replies efficiently.
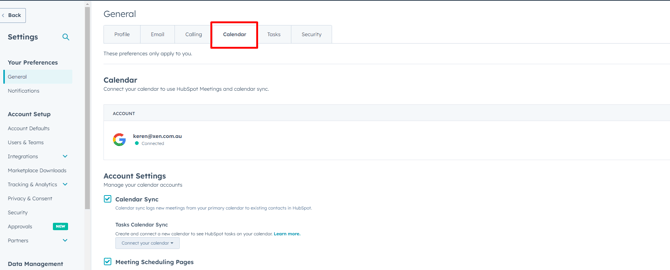
3. Integrating Your Calendar:
- Navigate to the calendar settings to connect your calendar.
-
- Sync your calendar with HubSpot to schedule meetings directly from the platform.
- Prevent double bookings by syncing existing events with your HubSpot calendar.
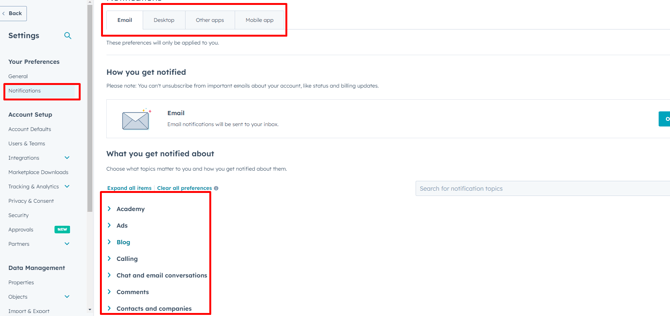
4. Managing Notifications:
- Explore the notification preferences in the settings.
- Customise the notifications you receive via email based on your role and preferences.
-
- Fine-tune your notification settings to stay informed without feeling overwhelmed.
By following these steps, you can optimise your HubSpot experience to align with your workflow and preferences. Setting up your profile, connecting your email and calendar, and managing notifications will enhance your productivity within HubSpot. Stay tuned for more insights and tips on maximising HubSpot's functionalities in future lessons. Thank you for joining us on this journey of optimisation.