Setting Up Cookie Banners
To create, view and edit HubSpot cookie consent banners:
- In your HubSpot account, navigate to Settings > Privacy & Consent > Cookies.
HubSpot Hosted Domain
To create a new Cookie Consent Banner for a HubSpot hosted domain, you should see your domain already in the list.
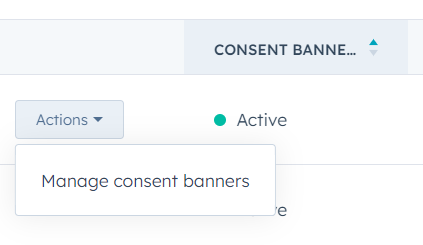
Hover over the domain and click Actions > Manage consent banners:
Click Create consent banner:

- Give the banner a name
- Specify a URL Path if you want the banner to appear on a certain subdirectory
- Specify countries if you want the banner to only display to visitors from specific countries
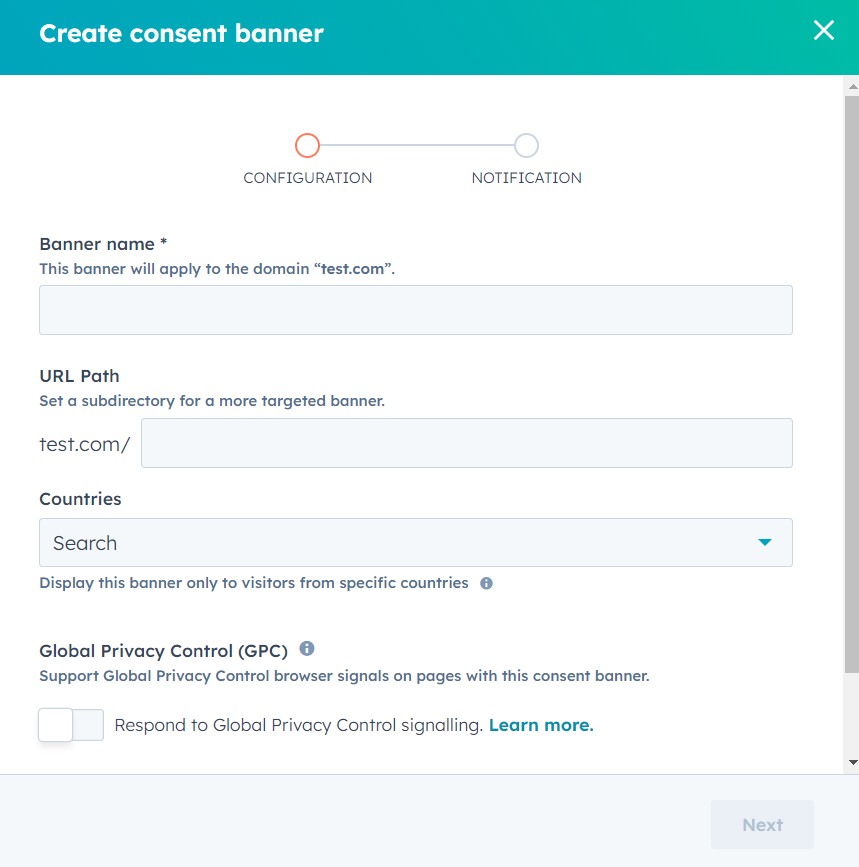
Then click Next.
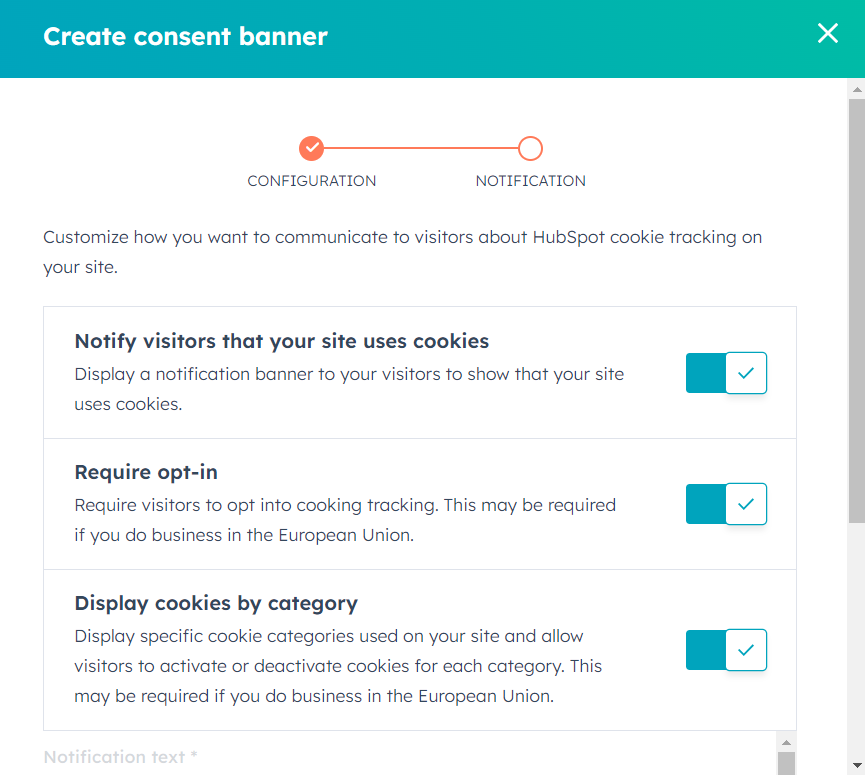
Depending on your requirements you may need these options on or off:
Review how the cookie will display. HubSpot provides boilerplate text. We advise reviewing this with your legal team before publishing:
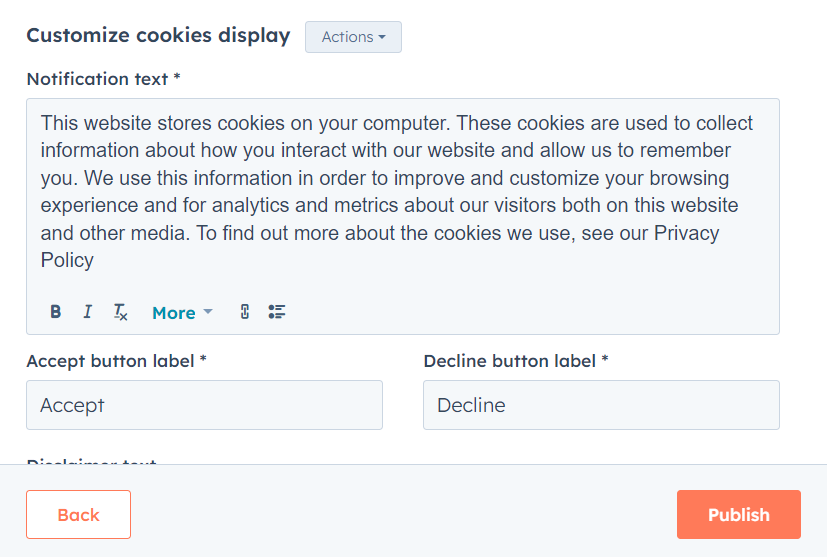
When ready click Publish.
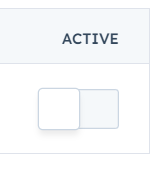
Your cookie banner will be set to Active.
If you want to deactivate it to test, change styles and preview the banner on your site, turn OFF the Active indicator:
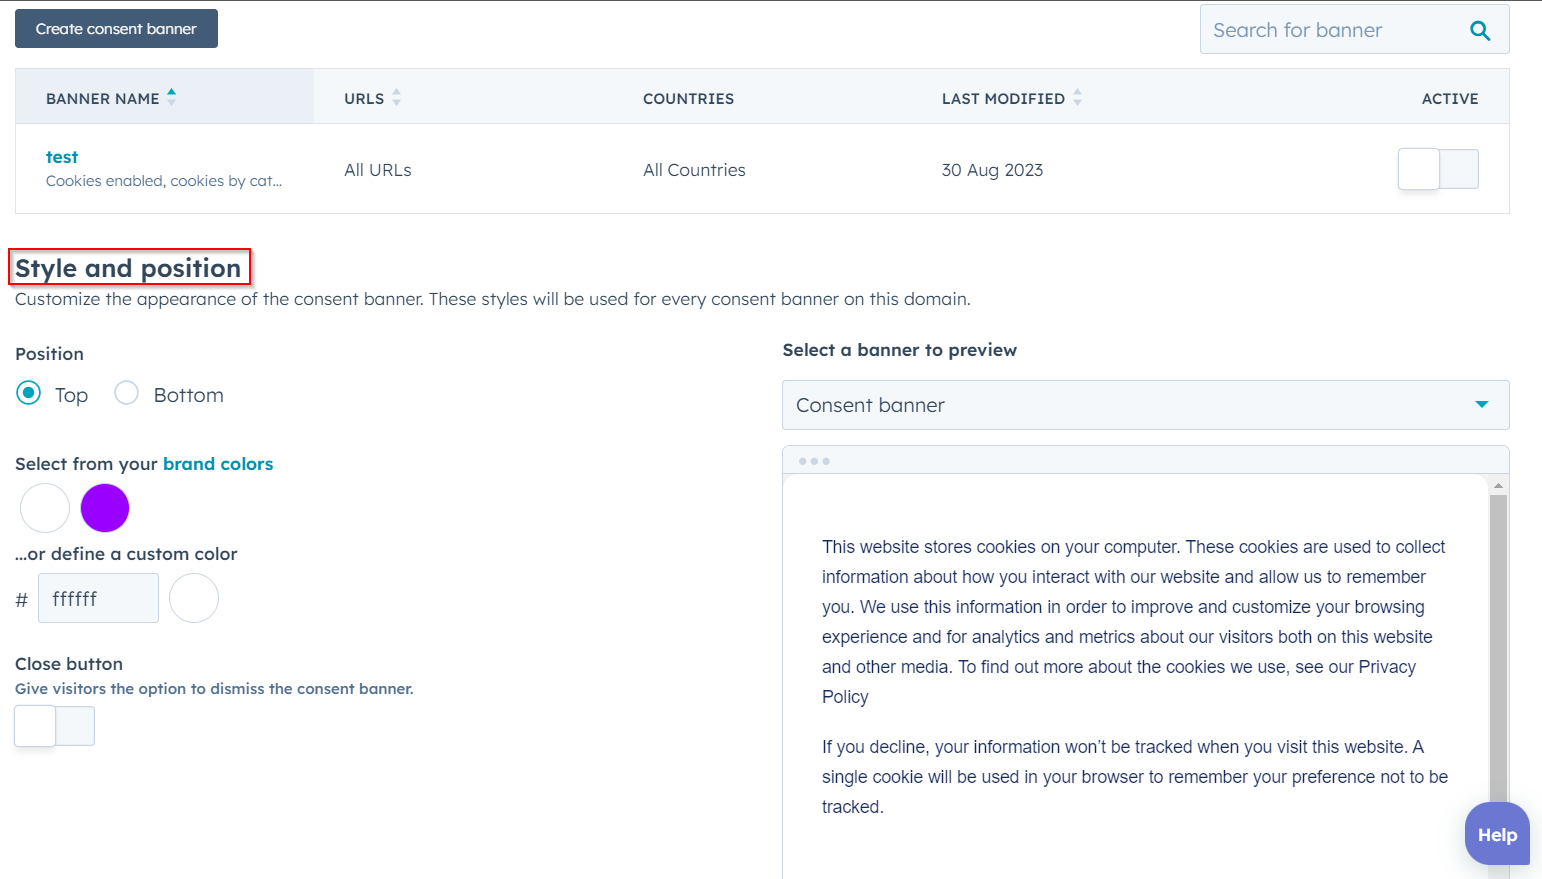
You can now set styles and position below the cookie banner listing:
External Domain
For the HubSpot cookie banner to appear on your external domain, ensure the HubSpot tracking code has been added to your external domain.
To create a new Cookie Consent Banner for an external domain, click ‘Add external domain’:

Type in your domain name.
Follow the steps above to set up your cookie banner.
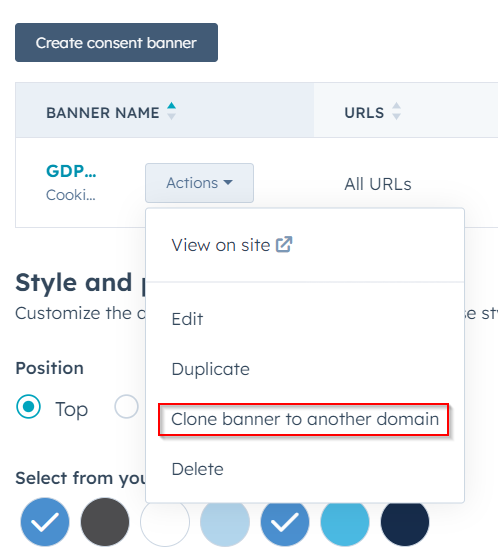
Alternatively, if you already have a cookie banner set up that you want to clone for your new domain, you can go into a different domain that already has the cookie banner set up, and select ‘Clone banner to another domain’:
Publish and Activate your cookie banner when ready.
Important Note: HubSpot cookie banners can't control any cookies placed by other scripts - unless you are using the HubSpot Cookie Scanner tool. See the next section.
Cookie Scanning
To view and edit HubSpot cookie scanning settings:
- In your HubSpot account, navigate to Settings > Privacy & Consent > Cookies.
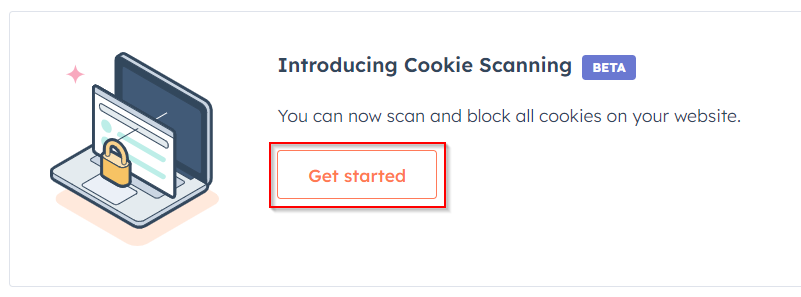
- Under Introducing Cookie Scanning, click ‘Get started’
Each domain is being scanned monthly to look for 3rd party cookies.
If you have recently added new cookies/tracking scripts to any of these domains, you can enforce a new scan by hovering over the domain and clicking ‘Scan now’:

If you don’t do this, the scan will occur monthly.
View the cookies picked up by the scan by clicking ‘View scan results’:

If HubSpot could not determine the category of the cookie or you want to reassign it, select the cookies and click ‘Assign category’:

Alternatively, click on the cookie name to edit the category and description:

To start scanning a new domain, click ‘Add external domain’.
Cookie Blocking
To view/configure cookie blocking for each domain, click ‘Configure cookie blocking’:

HubSpot will instruct you to add this cookie blocking code to every page on which you want the cookie blocking to be active:

IMPORTANT: as per the screenshot above, it’s very important that you insert the cooking blocking script as the very first script within the <head> tag. This is because the <head> section tends to contain a lot of scripts and if any of those scripts are loaded before the blocking script and contain cookies, these cookies will not be blocked.
This code is different for each domain, so for each domain you need to click ‘Configure cookie blocking’.
Example: view-source:https://www.yourdomain.com/

Cookie Banner Interactions
There are three ways to view interactions with the cookie banners in HubSpot
1. View individual contact interaction with the cookie consent banner
To view a single contact's interaction with the cookie consent banner:
- In your HubSpot account, navigate to Contacts > Contacts.
- Click the name of the contact to check their interaction with the cookie consent banner.
- Check the contact's timeline for a consent event. If the contact interacted with the banner, it should state if the contact accepted, declined, or revoked the cookie consent banner.
Examples:


2. View lists of contacts based on their interaction with the cookie consent banner
Create segments for:
- Approved
- Declined
- Revoked
3. View reports on cookie consent banner interactions
View the GDPR Compliance Dashboard for cookie policy view and click rates.
