1. Before connecting your team email channel
Before connecting a team email, please check the following:
- Navigate to Settings > Users & Teams and check if any other Hubspot Users are using that team email address on their account. You cannot use a single email account as both your personal email and team email in HubSpot. If the email address you need to use is already connected as a user's personal email, the user will need to disconnect their personal email from the CRM first. If this email address is associated with a user that no longer exists, re-create the user's account and then disconnect the email address in their account.
- Understand that all incoming emails sent to a team email will be visible to your entire team, so do not connect an email account that you use to send personal emails.
- Confirm which email provider your team email address is hosted with, then follow the instructions to connect to HubSpot with that provider. For example, if your email address is hosted with Gmail, follow the instructions for Gmail. If your team email address is not hosted with Gmail or Office 365, follow the instructions to connect another mail account.
If you're ready to connect your team email address, follow the steps below:
2. Connecting your team email channel
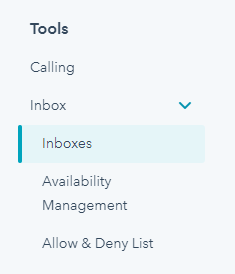
1. First navigate to Settings > Tools > Inbox > Inboxes:
2. Create a new Inbox:

3. Give the Inbox a name: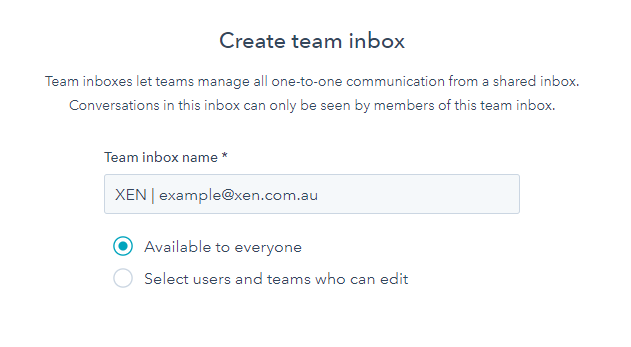
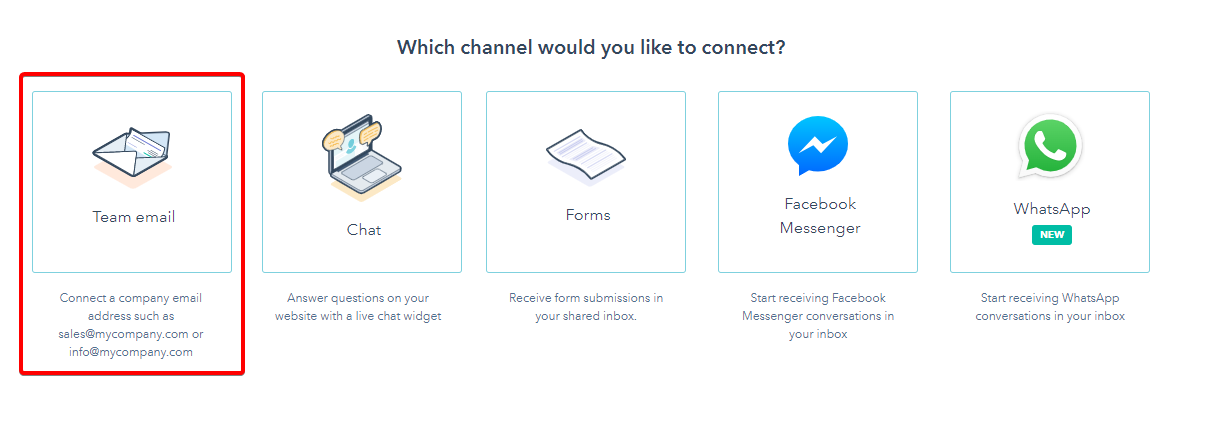
4. Click on Team Email:
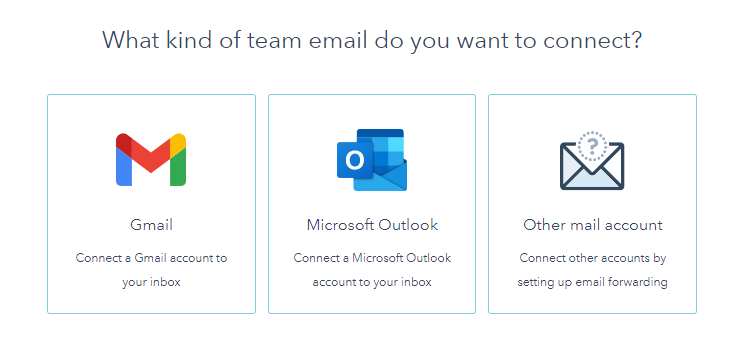
5. Select your email client. In this case, we'll choose Gmail:
6. Review the information and Continue:
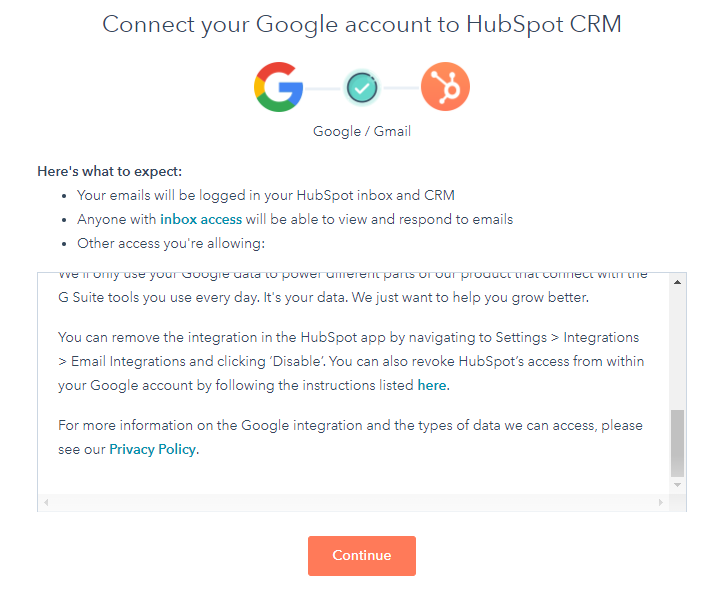
7. Sign in to your team email account to connect
3. Customise the team email information
You'll be redirected to the Email Details screen where you can customise the information that contacts will see when they receive an email from you. To customise the from name that displays, click the From name dropdown menu and select one of the following:
-
- Agent and company name: contacts will see the user's name and the company name when they receive an email. Enter the company name in the text field.
- Company name: contacts will see the company name when they receive an email. Enter the company name in the text field.

- To include a team email signature in emails you send from the inbox, select the Enable team signature checkbox.
Please note: this signature only applies to emails sent directly from the conversations inbox and will not appear in the email composition window when writing an email.
- In the text box, customise your team email signature in the Simple or HTML editor.
- Preview how the from name and email signature will appear in the contact's inbox, then click Next.
4. Routing conversations to users and team members
By default, incoming conversations are left unassigned for your team to triage. If you want to route the conversation to specific users and team members, click to toggle the Automatically assign conversations switch on.
- Click the Automatically assign incoming conversations to dropdown menu and select a routing option:
- Specific users and teams: route incoming emails to the users or teams selected. Select the users or team names from the Specific users and teams dropdown menu.
- Contact owner: route incoming email to a contact's owner. The contact must have an owner assigned to their record and be tracked with a cookie. If the owner is offline, the submission will be emailed to the visitor's owner.
5. Creating a ticket from conversations
To edit the default ticket properties, including the ticket pipeline and stage, click Edit ticket next to the Treat incoming conversations as support tickets setting.
- In the right panel, use the dropdown menus to edit the properties.
- By default, if you have set up automatic assignment rules in the inbox, the ticket owner will be the same as the conversation owner. To change the ticket owner, click the Ticket owner dropdown menu and select another option.
- Click Save.
Please note: there is a limit to the number of objects that can be associated with a contact record. If a contact record hits the limit, a ticket will not be automatically created when they start a conversation.
- Click Connect & finish.